1. Introduction
Arduinos have revolutionized DIY electronics and prototyping, making it accessible for beginners to start their journey in embedded systems. Whether you're an aspiring engineer, a hobbyist, or just curious about electronics, Arduino offers a versatile platform to learn and create.
Arduino's popularity can be attributed to its simplicity and the vast community support it has garnered over the years. With a wide range of applications, from simple blinking LEDs to complex robotics, Arduino provides a great starting point for anyone interested in electronics and programming.
2. What is an Arduino?
Arduino is an open-source electronics platform based on easy-to-use hardware and software. It was introduced in 2005 by Massimo Banzi and David Cuartielles to provide a low-cost, simple way for beginners and professionals to create devices that interact with their environment using sensors and actuators.
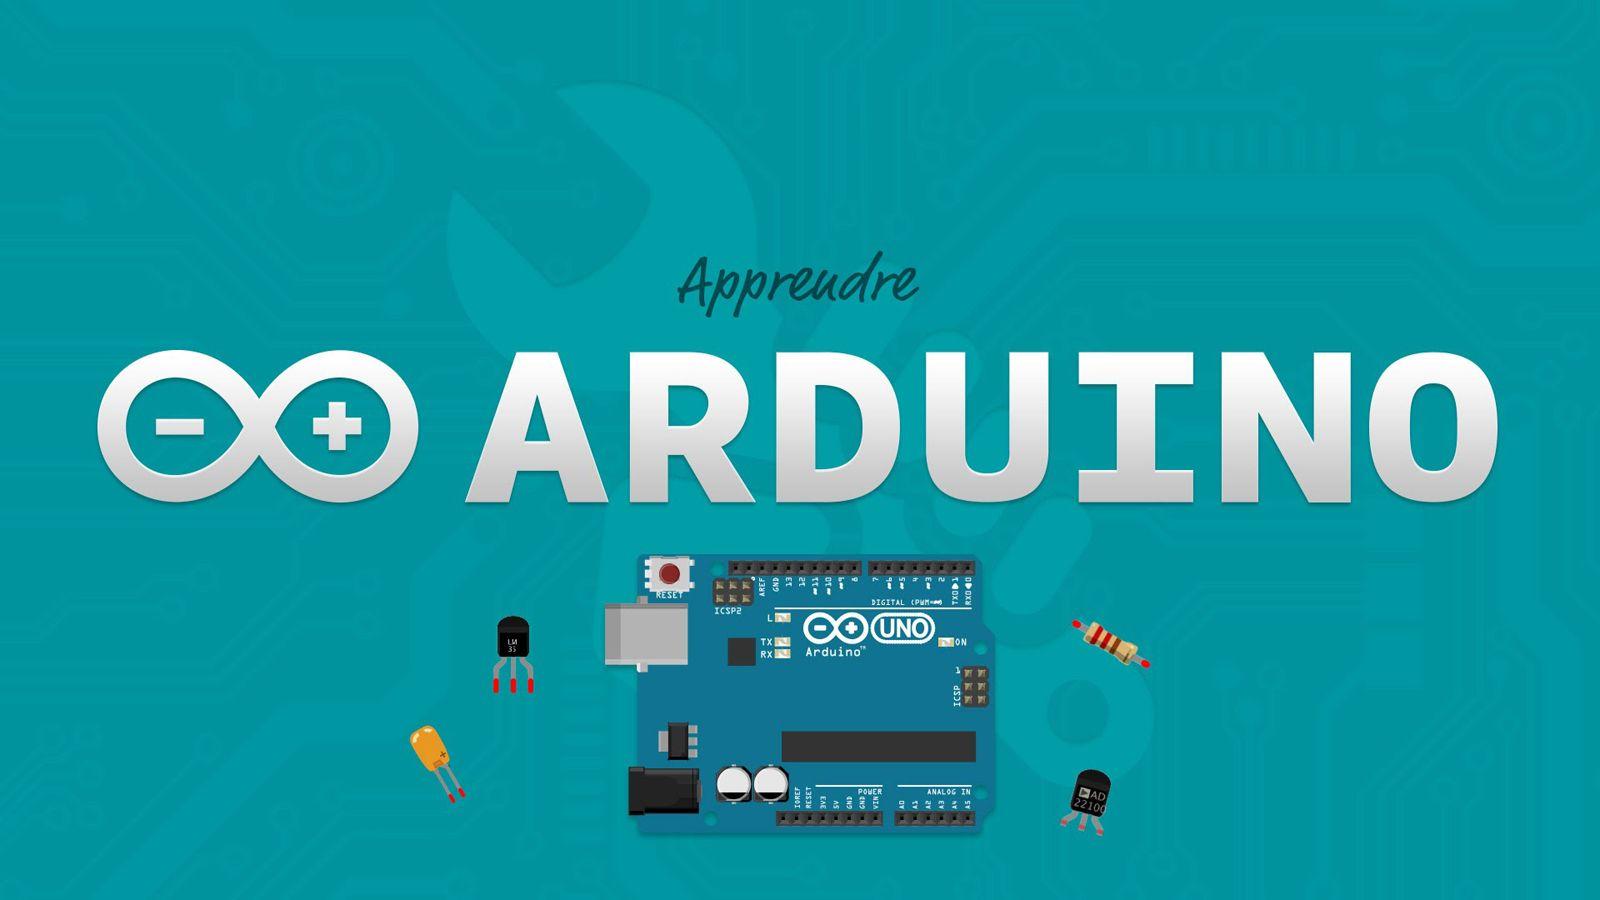
An Arduino board typically consists of:
- Microcontroller: The brain of the Arduino, responsible for executing code.
- Digital and Analog I/O Pins: Used to connect sensors, LEDs, motors, and other components.
- Power Supply: Provides power to the board and connected components.
- USB Interface: Allows the board to be connected to a computer for programming.
- Other Components: Such as oscillators, voltage regulators, and more.
3. Why Use Arduino?
For beginners, Arduino offers several advantages:
- User-Friendly: The Arduino IDE (Integrated Development Environment) is easy to use, even for those without programming experience.
- Cost-Effective: Arduino boards and accessories are relatively inexpensive.
- Versatile: Suitable for a wide range of applications and projects.
- Large Community: A vast community of users who share projects, tutorials, and support.
Common projects include:
- Simple LED blinkers
- Temperature and humidity monitors
- Home automation systems
- Robots and drones
4. Getting Started with Arduino
Choosing the Right Arduino Board: Several types of Arduino boards are suited for different applications. The most popular is the Arduino Uno, which is great for beginners due to its simplicity and wide support. Other options include the Arduino Nano, Mega, and Leonardo, each offering different features and capabilities.
Essential Tools and Components:
- Breadboard
- Jumper wires
- LEDs
- Resistors
- Sensors (e.g., temperature, light)
- Actuators (e.g., motors, servos)
5. Setting Up Your Arduino
Downloading and Installing the Arduino IDE:
- Visit the Arduino website and download the IDE suitable for your operating system (Windows, macOS, Linux).
- Follow the installation instructions provided on the website.
Connecting Your Arduino Board to the Computer:
- Use a USB cable to connect the Arduino board to your computer.
- Ensure the drivers are installed if required (usually automatic).
Understanding the Arduino IDE Interface:
- Code Editor: Write your code here.
- Verify Button: Checks your code for errors.
- Upload Button: Upload your code to the Arduino board.
- Serial Monitor: Allows you to communicate with the Arduino board.
6. Your First Arduino Project
Let's create a simple "Blink" program to blink an LED.
Step-by-Step Code Explanation:
- Open the Arduino IDE.
- Write the following code:
// the setup function runs once when you press reset or power the board
void setup() {
  pinMode(LED_BUILTIN, OUTPUT); // initialize digital pin LED_BUILTIN as an output.
}

// the loop function runs over and over again forever
void loop() {
  digitalWrite(LED_BUILTIN, HIGH); // turn the LED on (HIGH is the voltage level)
  delay(1000); // wait for a second
  digitalWrite(LED_BUILTIN, LOW); // turn the LED off by making the voltage LOW
  delay(1000); // wait for a second
}
Uploading the Code to the Arduino Board:
- Click the Verify button to check for errors.
- Click the Upload button to upload the code to the board.
- You should see the onboard LED start blinking.
Troubleshooting Common Issues:
- Ensure the correct board and port are selected in the IDE.
- Check the USB connection.
- Verify the code for any typos or errors.
7. Exploring Further
Once you're familiar with the basics, you can explore sensors and actuators. Some examples include:
- Temperature Sensors: Measure and display temperature.
- Light Sensors: React to changes in light levels.
- Motors and Servos: Create moving parts for robots.
Examples of Intermediate Projects:
- Automated plant watering system
- Intruder alarm system
- Simple robots
Resources for Learning More:
- Official Arduino website and forums
- YouTube tutorials
- Online courses and books
8. Conclusion
In this blog, we've covered the basics of Arduino, including what it is, why it's useful, and how to get started with your first project. With endless possibilities for projects and a supportive community, Arduino is an excellent platform for anyone looking to dive into electronics and programming.
Now it's time to get creative and experiment with your Arduino projects!

